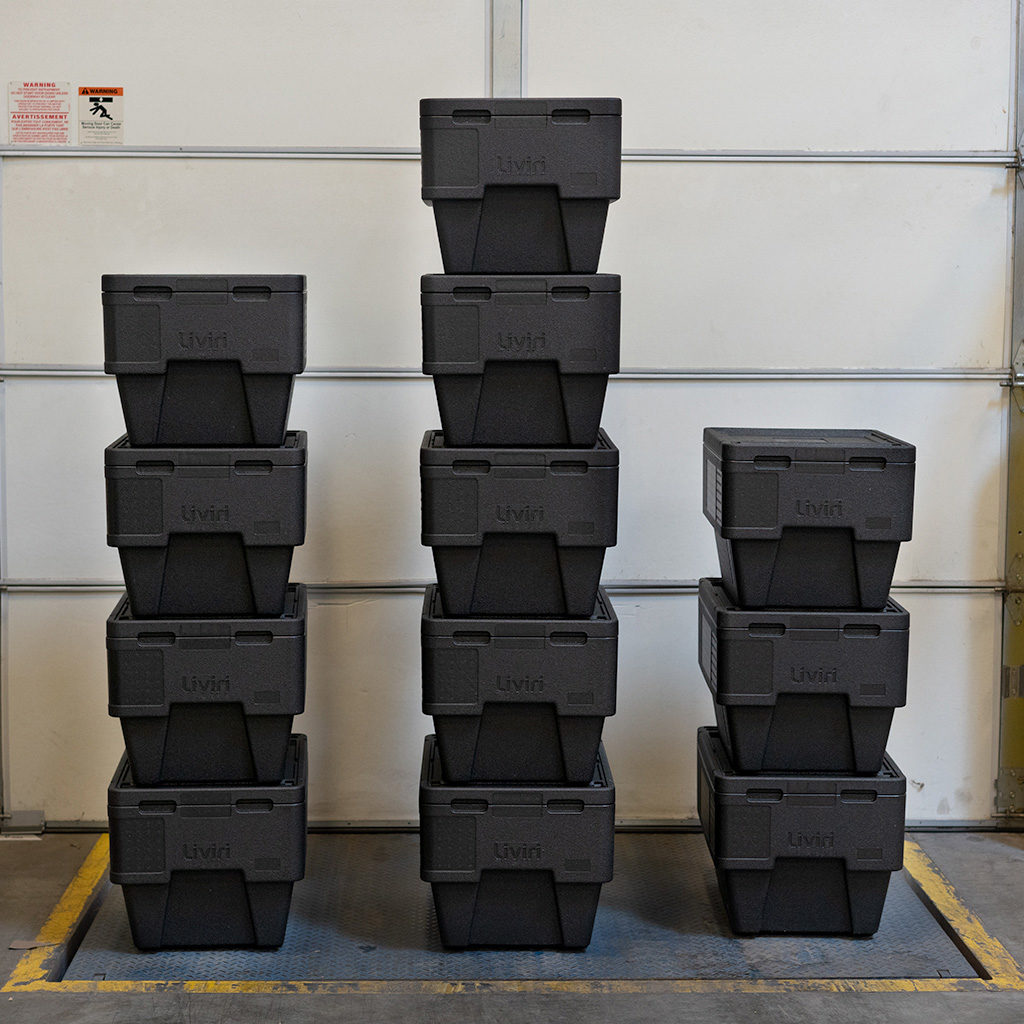
Liviri Thermal Performance — Defined
Thermal packaging is the keystone element to the successful staging and delivery of perishable foods. Liviri and OtterBox have innovated a more effective way forward, with our award-winning lineup of reusable containers and totes that use passive cooling elements to optimize your cold-chain operations.
7 Best Practices for Passive Cooling
Liviri passive cooling totes and containers are tailormade for optimizing temperature performance when and where it counts, all the while reducing chilled and frozen staging space constraints and limiting our reliance on energy hungry delivery methods.
Integrating a responsive, cost-effective passive cooling strategy is easy when you follow these seven steps:
Step 1
Measure Cold Chain Success based on when food crosses critical temperature thresholds, not by concrete rises in temperatures.
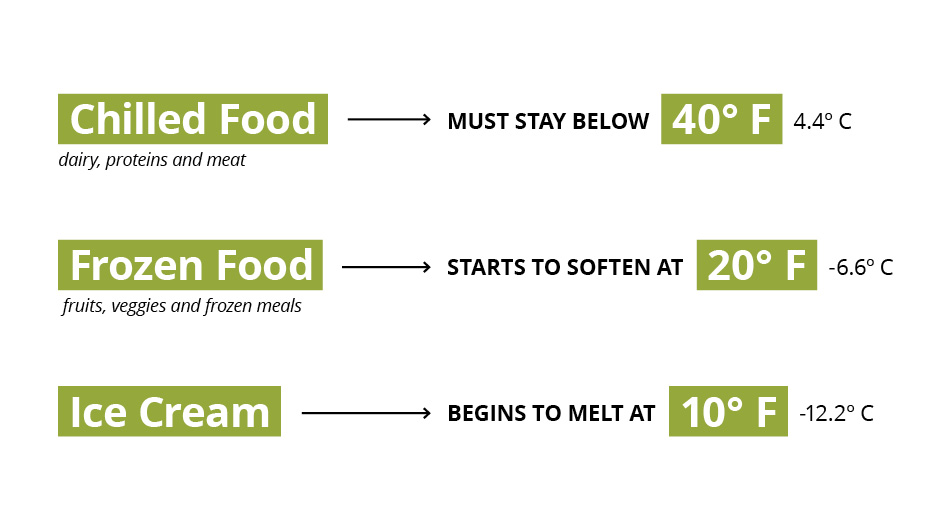
Focus on staying below the temperature requirements instead of measuring how much the temperature rises inside your sustainable packaging. For example, requiring that ice cream removed from a -10° F freezer increases by no more than 5° F is not a realistic or necessary requirement, especially since ice cream doesn’t begin to melt until 10° F. Instead, concentrate on adding appropriate coolant and insulation to ensure ice cream always stays below 10° F to prevent melting and the formation of ice crystals.
Step 2
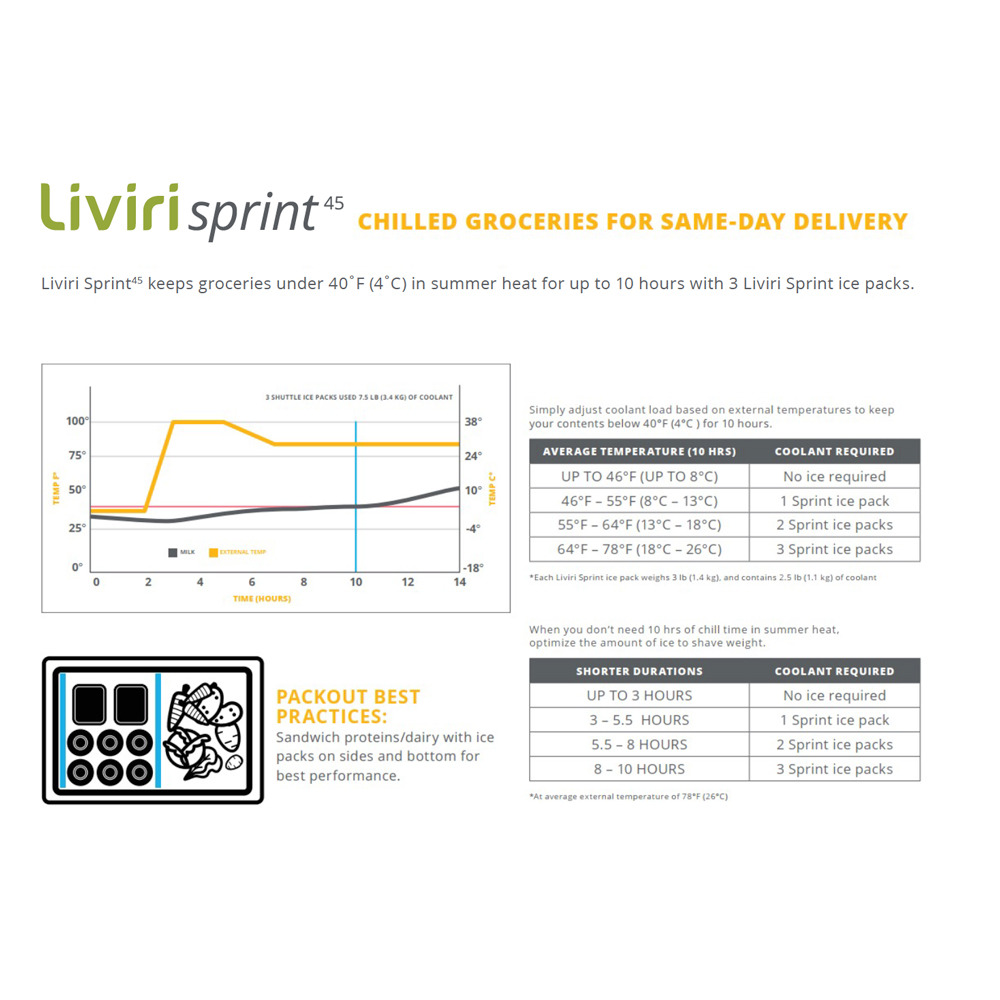
Optimize coolant load.
Liviri has tested hundreds of different use cases to determine the right amount of coolant needed to achieve optimal food quality protection. The following factors impact how much coolant is needed:
- External temperature profile. Does the product require a staging room temperature? A bump in external temperature for transport on a hot truck? (Additionally, be prepared to adjust coolant for different times of the year.)
- Cold-chain duration requirements.
- Coolant type.
- Desired state of food when it arrives to the consumer. Grocery customers expect that their ice cream and frozen foods will be delivered frozen solid. In contrast, customers who order premium beef for meal kits may want food to arrive partially thawed, so it’s ready to consume.
Step 3
Maximize Direct Contact with Coolant.
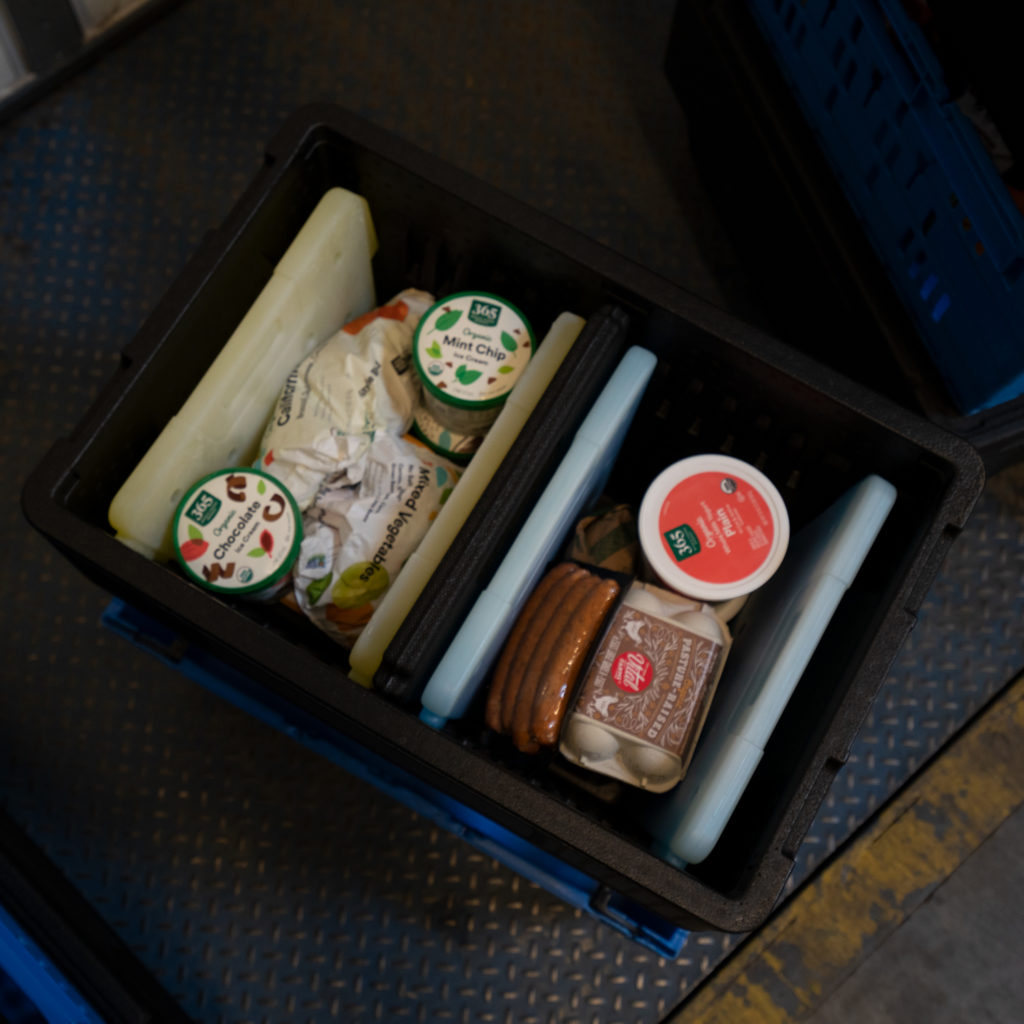
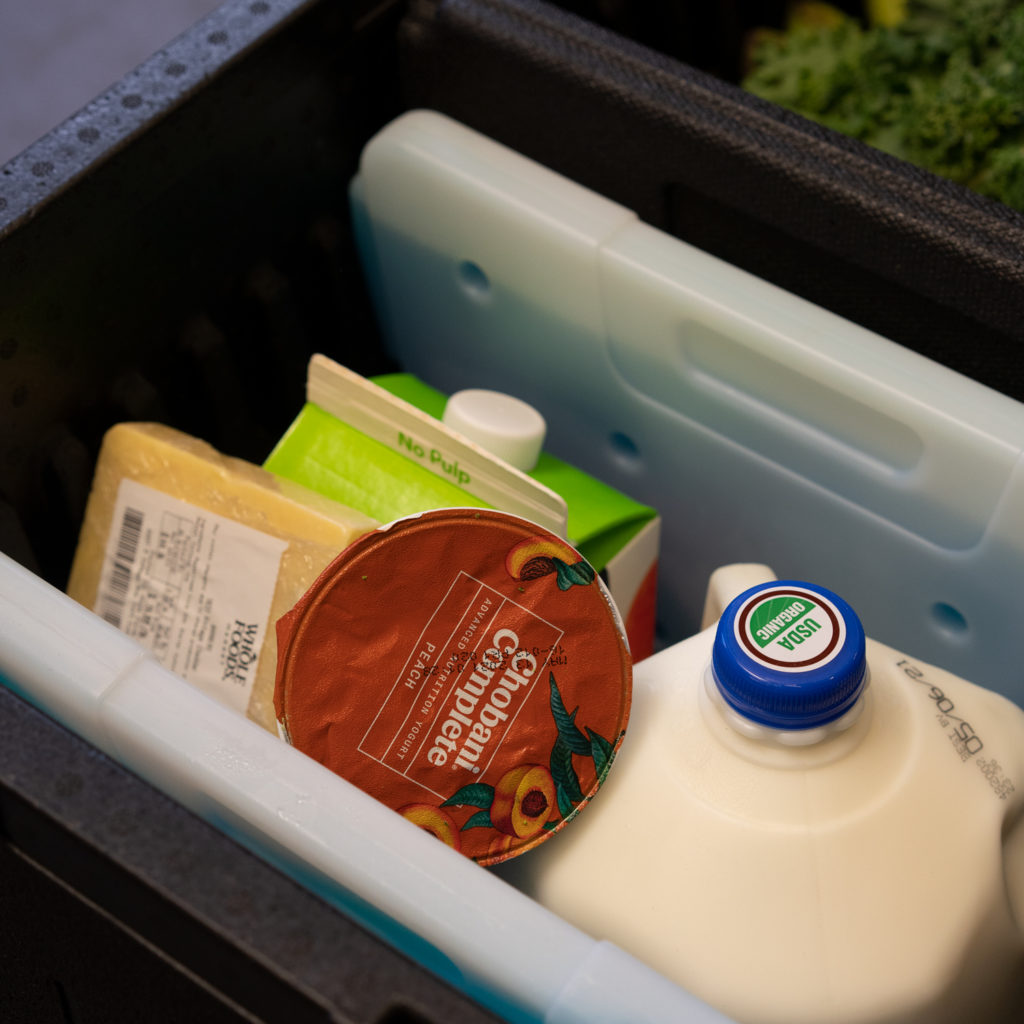
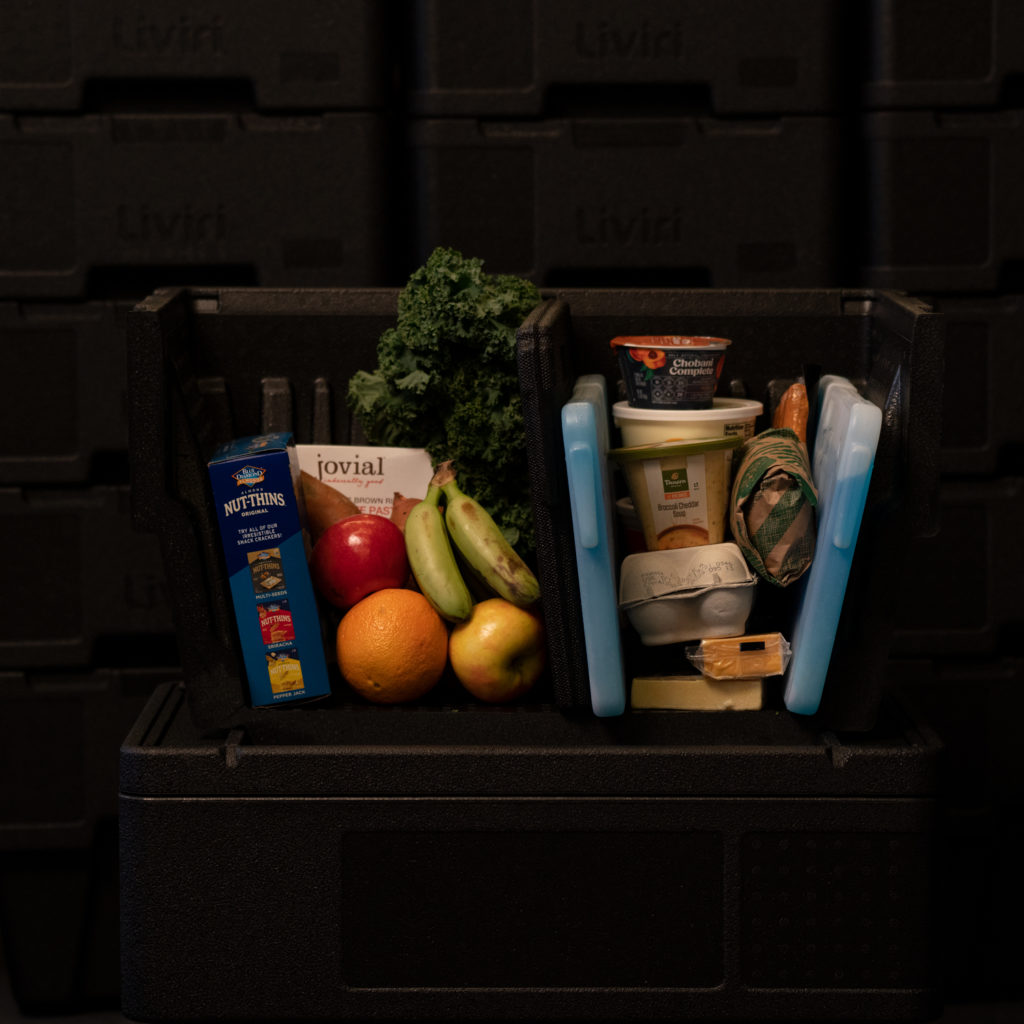
To achieve the best results with the least amount of coolant, it’s essential to sandwich food between ice packs to maximize direct coolant contact. When shipping in extreme heat, enclose goods within a box of coolant using horizontal ice packs on the bottom of the container, plus vertical ice packs on the sides, to increase cold-chain performance.
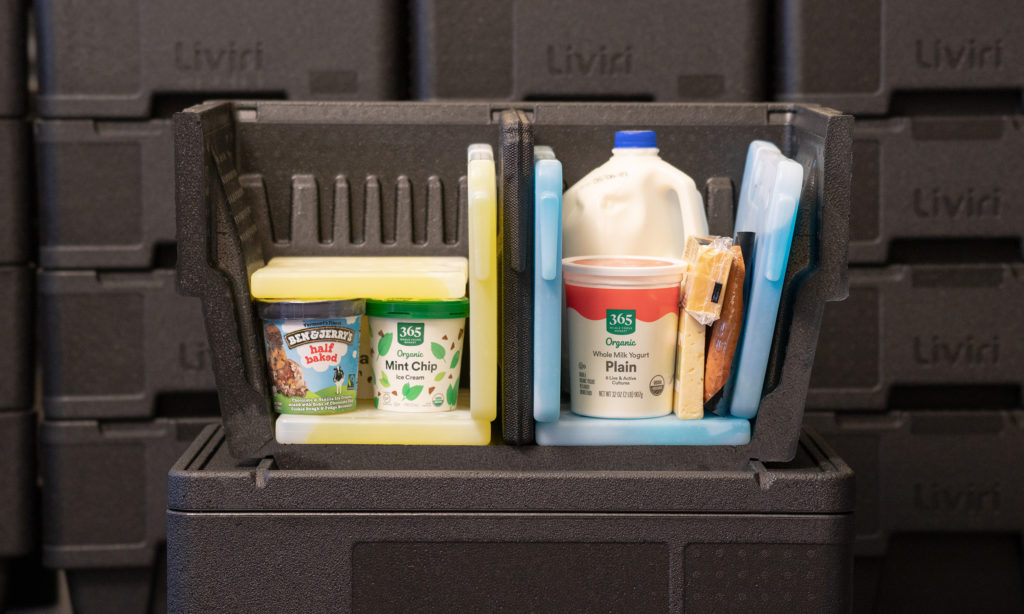
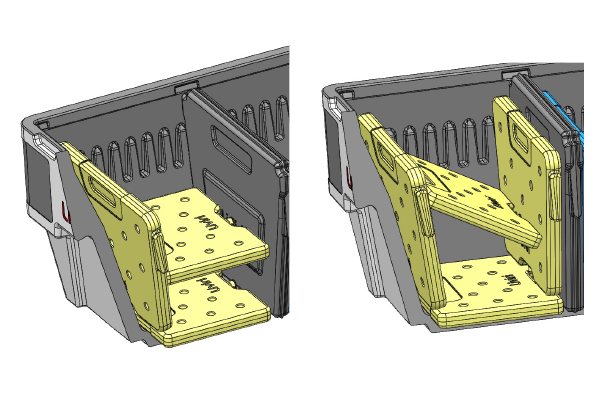
For best performance ice cream should be sandwiched in between horizontal ice packs with at least one vertical ice pack on the side.
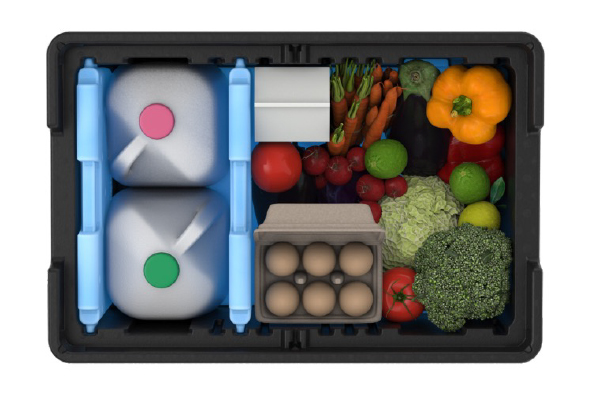
Vertical ice packs work best for tall items like milk and juices or with full boxes to maximize ice contact.
Minimize direct ice contact with fruits and veggies to avoid freezing and/or damaging produce.
Step 4
Use the Right Coolant for the Job.
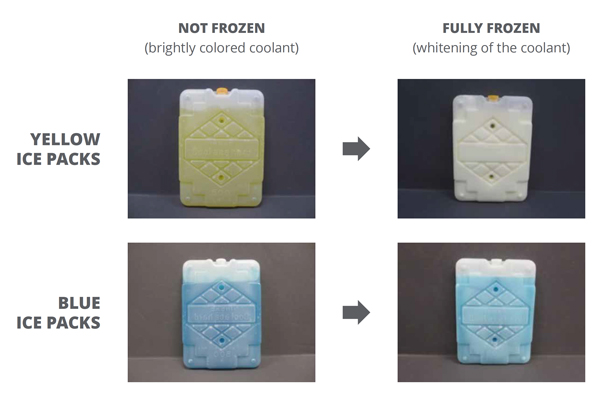
32° F / 0° C Blue Ice Packs are best for keeping chilled and most frozen foods cold for the longest period of time — since they melt the slowest.
5° F / -15° C Yellow Ice Packs are best for keeping ice cream below 10° F (-12° C) and frozen food below 20° F (-6.6° Celsius) for up to 12 hours.
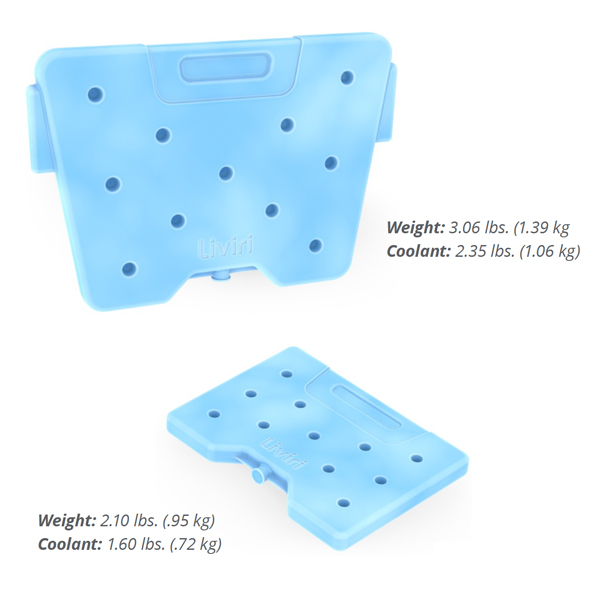
Blue Ice Packs
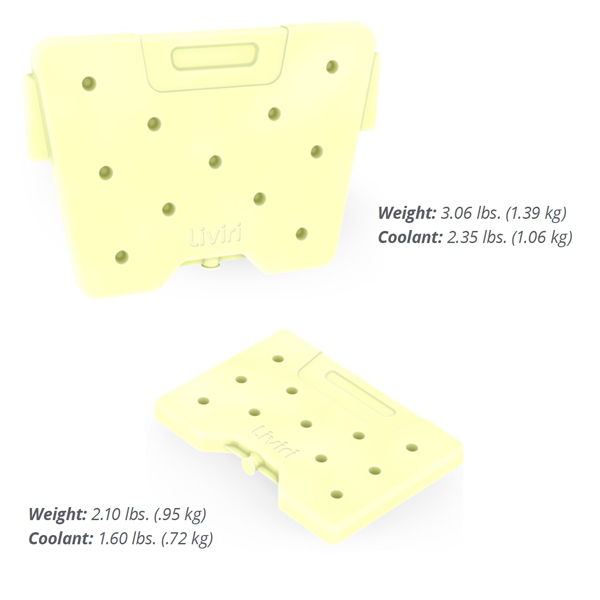
Yellow Ice Packs
Note: The colder the PCM coolant transition temperature, the shorter the cooling duration, and the longer it takes to freeze (in standard coolers -10° F.). Therefore 5° F (-15°C) ice packs melt faster and take longer to freeze than 32° F (0°C) ice packs.
Step 5
Conditioning / Freeze Temperatures
Precondition the 5°F (-15° C) packs as cold as you can based on your freezer. We conducted our testing in a -10° F/-23° C commercial freezer, but blast freezers that go as low as -58°F (-50°C) are even better.
Precondition the 32° F (0° C) packs 14° F (-10°C) to 32° F (0° C) to minimize the potential to freeze the chilled items.
Helpful tips:
- Use racks to separate ice packs to ensure good air flow for faster freezing
- Do not freeze ice packs in insulated totes since insulation keeps cold air out
- Implement first in, first out rotating ice system to ensure that the most frozen packs are used
Step 6
Reduce Empty Space in Sustainable Packaging. The More Densely a Box is Packed, the Longer it Maintains Desired Temperatures.
Use thermal dividers to combine frozen and chilled items in the same box. Or, combine multiple orders in the same box to eliminate dead air space.
Step 7
Extend Cold-chain Performance by Pre-conditioning Insulated Box, When Possible.
Store empty insulated totes in walk-in refrigerators or freezers to avoid having to cool down warm totes. This enables the containers to maintain cooler temps longer with less ice.
